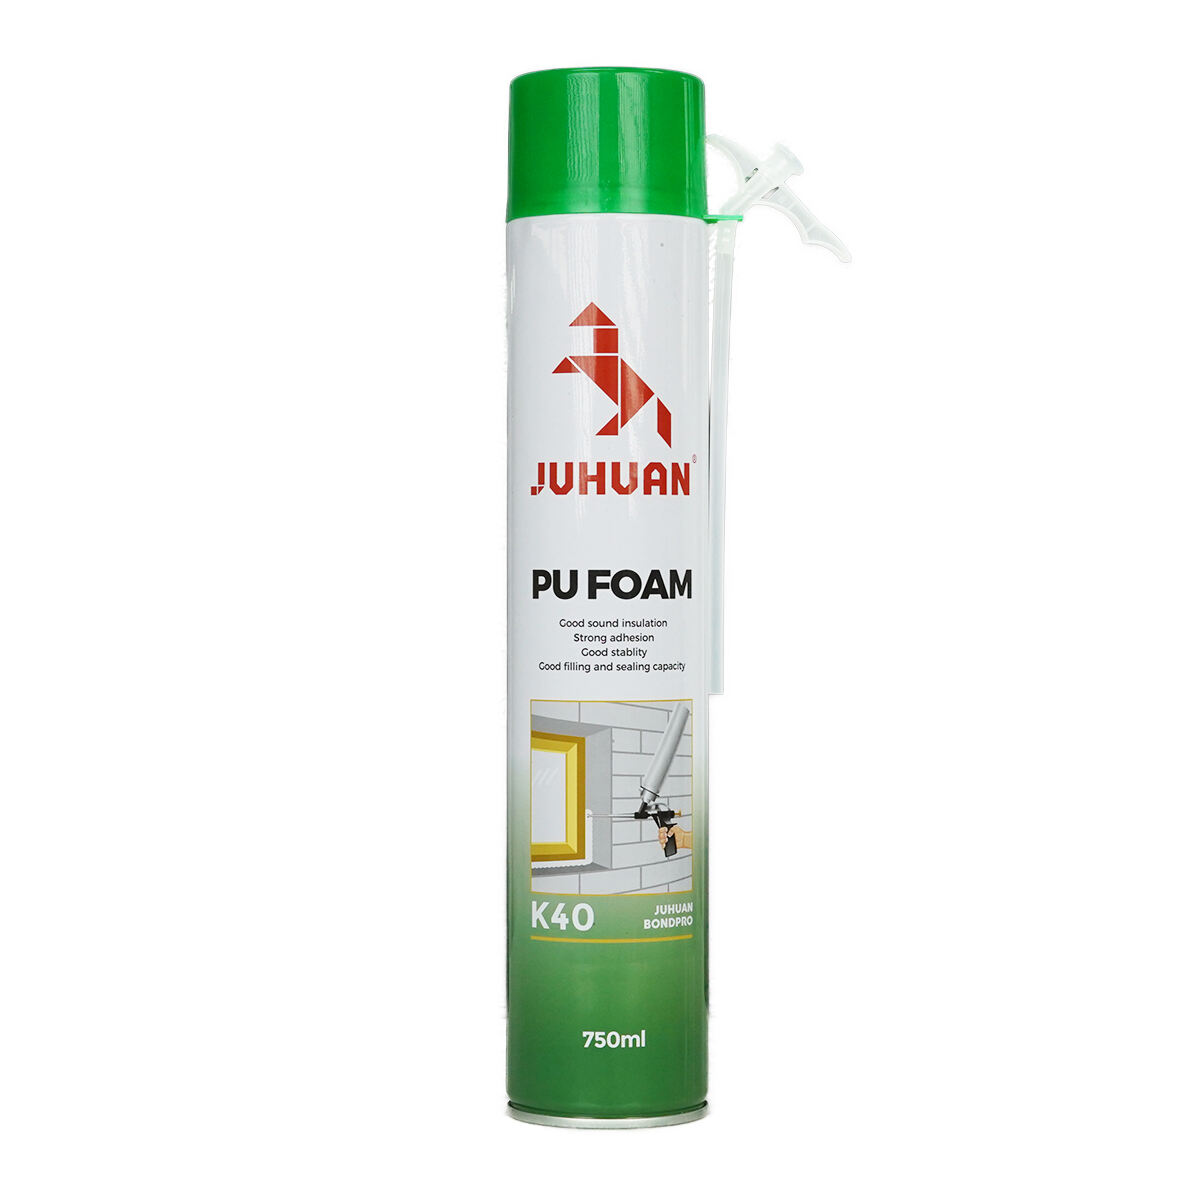
Как подготовиться к нанесению полиуретановой пены
Правильная подготовка играет большую роль при использовании полиуретановой пены. Начните с очистки поверхности, на которую будет наноситься пена. Пыль, жир или грязь могут помешать сцеплению пены с поверхностью. Если вы герметизируете пространство вокруг оконной рамы, протрите края сухой тканью, чтобы удалить загрязнения, и убедитесь, что поверхность полностью сухая.
Затем необходимо защитить поверхности, на которые не должен попасть пенополиуретан. Пенополиуретан может расширяться и растекаться при застывании, поэтому он может случайно попасть на стены или стекло. Используйте малярную ленту вдоль краев и большие полиэтиленовые листы для покрытия больших поверхностей. Если вы работаете на улице, проверьте погоду. Не наносите пену под дождем или при высокой влажности — избыток влаги может повлиять на окончательное застывание.
Последний шаг — встряхнуть баллончик с пеной. Держите его вверх дном и встряхивайте в течение полных 30 секунд, чтобы смешать химические вещества внутри. Если вы забудете это сделать, пена может распылиться неравномерно и неправильно расшириться.
Выберите правильный пенополиуретан для вашего проекта
Не всякий пенополиуретан одинаков — выбор зависит от характера выполняемой работы. Для повседневных задач, таких как заделка небольших трещин или ремонт дверной рамы, подойдет стандартная универсальная пена. Ее просто распылять, и она быстро застывает.
Если необходимо соблюдать нормы пожарной безопасности, например, при герметизации вокруг электрических розеток или в коммерческих помещениях, выбирайте огнестойкую пену (например, типа B1). Эта пена содержит добавки, которые замедляют распространение пламени, обеспечивая большую безопасность для вас и вашего здания.
Для теплоизоляции, например, при обертывании труб или герметизации вокруг окон с целью сохранения тепла внутри, используйте пену, предназначенную для тепловой изоляции. Эти материалы минимизируют теплопередачу, позволяя системам отопления и охлаждения расходовать меньше энергии.
Также учитывайте размер баллончика. Баллончик объемом 500 мл подойдет для небольших работ, а 750 мл — лучше для более крупных задач. Правильный выбор объема обеспечит экономию материала и предотвратит его нехватку в процессе работы.
Как правильно распылять полиуретановую пену
Держите баллончик правильно. Держите его вертикально, на расстоянии 15–30 см от обрабатываемой поверхности. Если наклонить баллончик слишком сильно, пена будет выходить комками. Слишком близкое расстояние может привести к образованию больших некрасивых комков, которые будет трудно разровнять.
Начните медленно и продолжайте движение. Не заполняйте зазор полностью сразу. Пенополиуретан быстро расширяется — обычно в 2–3 раза от своего размера. Заполните зазор примерно на 1/3 или 1/2. Если зазор шириной 2 сантиметра, распыляйте до тех пор, пока пена не достигнет высоты около 0,5–1 сантиметра. Это позволит пене расширяться, не вытекая за края.
Правильно наносите слоями. Если требуется более одного слоя, дайте первому слою настояться 10–15 минут, пока он не станет частично сухим. Это предотвратит смешивание слоёв и обеспечит их хорошее сцепление друг с другом.
Достигайте труднодоступных мест. Для маленьких и сложных зазоров используйте удлинительное сопло, которое идёт в комплекте с баллончиком. Оно позволяет направлять пену точно туда, где это необходимо, и не распылять лишнее по всей поверхности.
Сушка и обрезка пены
После нанесения пены дайте ей полностью высохнуть. Время высыхания зависит от типа пены и условий в рабочем помещении. Обычно это около 24 часов, но холодная погода или повышенная влажность могут увеличить это время. Сопротивляйтесь желанию трогать пену или ударять по ней во время застывания, иначе вы можете нарушить нужную форму.
Когда пена полностью высохнет, вы можете срезать излишки, выступающие за края зазора. Лучше всего использовать острый канцелярский нож или специальный резак для пены. Действуйте медленно и не прикладывайте слишком много усилий, особенно если рядом находятся хрупкие материалы, такие как стекло или тонкая древесина. Легкими и уверенными движениями вы сохраните аккуратность работы.
Если вы планируете красить пену или шлифовать её, дождитесь полного отверждения. Ознакомьтесь с указаниями на баллончике относительно времени отверждения. Некоторые виды пены можно красить сразу, в то время как другие требуют предварительного нанесения грунтовки, поэтому внимательно изучите инструкцию к продукту.
Важные правила безопасности
Пенополиуретан работает отлично, но вы должны быть осторожны. Всегда надевайте перчатки перед тем, как взять баллончик; пена прилипает к коже и смывается очень долго. Если пена попала на руки, сразу смойте ее мылом и водой — не используйте растворители, так как они могут раздражать кожу.
Всегда работайте в хорошо проветриваемом помещении. Пока пена застывает, выделяются сильные пары. Откройте окна, включите вентиляторы или работайте на улице, если это возможно, особенно в гараже или подвале.
Держите баллончик вдали от тепла и огня. Пена может воспламениться до высыхания. Баллон под давлением, поэтому нагревание может вызвать взрыв. Никогда не оставляйте его рядом с обогревателем, на плите или под прямыми солнечными лучами.
Правильно храните оставшуюся пену. После использования нажмите на распылитель, чтобы очистить его, затем плотно закройте колпачком. Храните в прохладном сухом месте, например, в подсобке или сарае. Не оставляйте пену в машине или на подоконнике, так как там может быть слишком жарко.
Частые ошибки, которых следует избегать
Не распыляйте слишком много за один раз. Пена сильно увеличивается в объеме после выхода из баллона. Если использовать слишком много, она вытечет и создаст липкую, трудноочищаемую беспорядок. Начните с малого и добавьте больше, если заметите промежутки.
Не пропускайте взбалтывание. Если баллон недостаточно взболтать, пена выйдет неравномерно. Она не прилипнет или не расширится так, как нужно. Установите таймер на 30 секунд и хорошо взболтайте перед распылением.
Ускорение процесса высыхания может обернуться проблемами. Если вы обрежете пену или покрасите её до полного застывания, вы рискуете получить крошащиеся края и слабое сцепление. Время, потраченное на полное высыхание, окупится позже гладкой и долговечной отделкой.
Выбор неправильной пены — ещё один путь к проблемам. Если вы используете обычную пену там, где действуют правила пожарной безопасности, вы не будете соответствовать нормам. Если вы выберете пену, которая не обеспечивает теплоизоляции для термического применения, управление температурой не сработает. Всегда выбирайте пену, подходящую для конкретной задачи.

