Prepare the Caulking Gun and Sealant
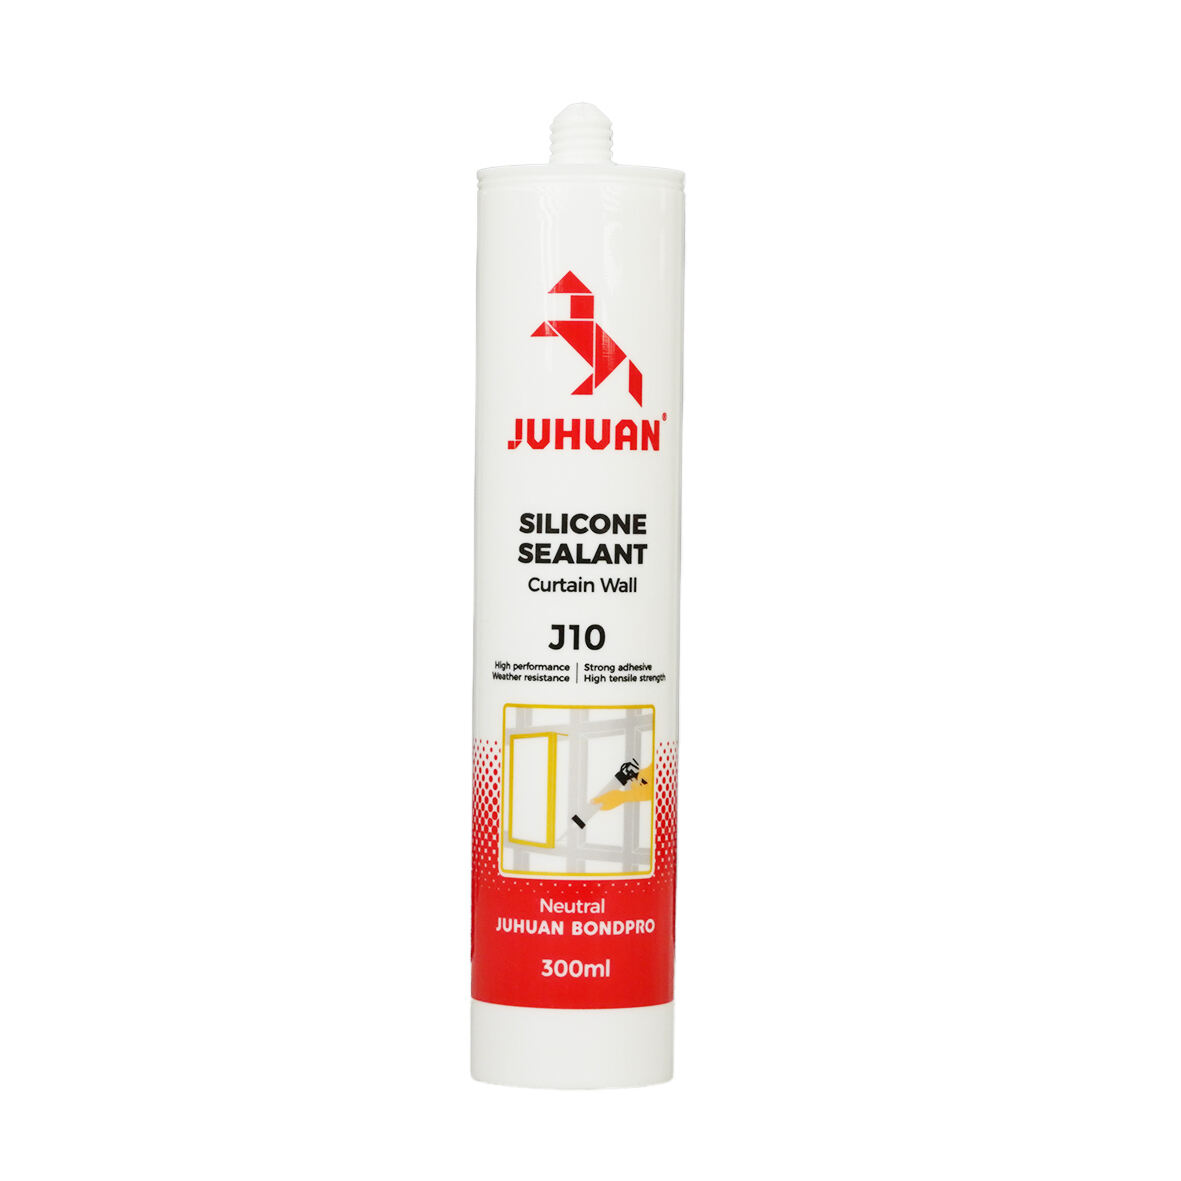
It is important to conduct an inspection on the caulking gun before usage. As a first step, ensure there is no damage like a stuck push rod or a broken trigger. If any damage is noted, ensure that the necessary repairs are done, as not doing so will create problems later on. After this, check the sealant. If for instance, you are using the silicone sealant from Juhuan, confirm that the tube is not damaged and there are no leaks. Ensure that the silicone nozzle is not blocked. Remember that the thickness of the sealant line is dictated by the amount you cut from the tube. If you would like to have a thin line, cut it small and vise versa. Lastly, do not forget to puncture the inner seal and the tube with a nail or the tool that comes with the gun or else, no sealant will come out.
Loading the Sealant into the Gun
In order to open the caulking gun, pull back the push rod until it locks in place. Insert the sealant tube into the gun’s barrel, making sure the tube’s tip is protruding from the gun’s front. Afterward, release the push rod so it presses against the tube’s back. Check to see that the tube is snug and the sealant gun is steady. If it’s not, the uneven sealant is likely to pour out.
Modify the Gun so it is Easier to Control
Many caulking guns come with a pressure control adjustment. If you are a beginner, it is advisable to start with a lower pressure setting. This will let the sealant come out slowly when the trigger is squeezed, allowing for better control. If you are using thicker sealants like some polyurethane sealants, you might want to pull the pressure up a notch. Use a piece of paper for testing—disgorge the trigger slowly to gauge the amount of sealant that is released. Keep fine-tuning the settings until you achieve the desired result.
Start Applying the Sealant
For better results, hold the caulking gun with one hand supporting the tip and your other hand gripping the handle. Position the tip at a 45-degree angle with the gap you wish to fill–this gives the best chance for the sealing material to fill the gap smoothly. Squeeze the trigger gently while keeping a constant pace with the gun. Stopping mid way is not ideal because excess sealant will pile up. If you wish to stop, gently release the trigger, and while retracting the push rod, let the pressure control the flow to stop the sealant flow.
Smooth Out the Sealant
Immediately after applying the sealant, use a finger or tool (like a spatula) to smooth the edges with water. Any excess sealant should be wiped off with a cloth before drying. Clean while the sealant is wet to avoid difficulty in removing the excess. Smooth the edges before seting begins. Some sealants (like silicone) dry up pretty fast. So, a blend of too much and too little will create a mess.
Clean and Store the Gun
Finish your work by cleaning the sealant gun. If there is any sealant left in the tube, make sure to cap the tip to keep it from drying out. Capping the nozzle will keep the rest sealant from hardening. Wipe the nozzle with a cloth soaked in mineral spirit, to remove any left behind sealant, or else it will clog the next time. After cleaning, let the push rod sit, and the gun can be stored in its designated aa dry area. This ensures next time there will be no need to prep or hassle prep work.

