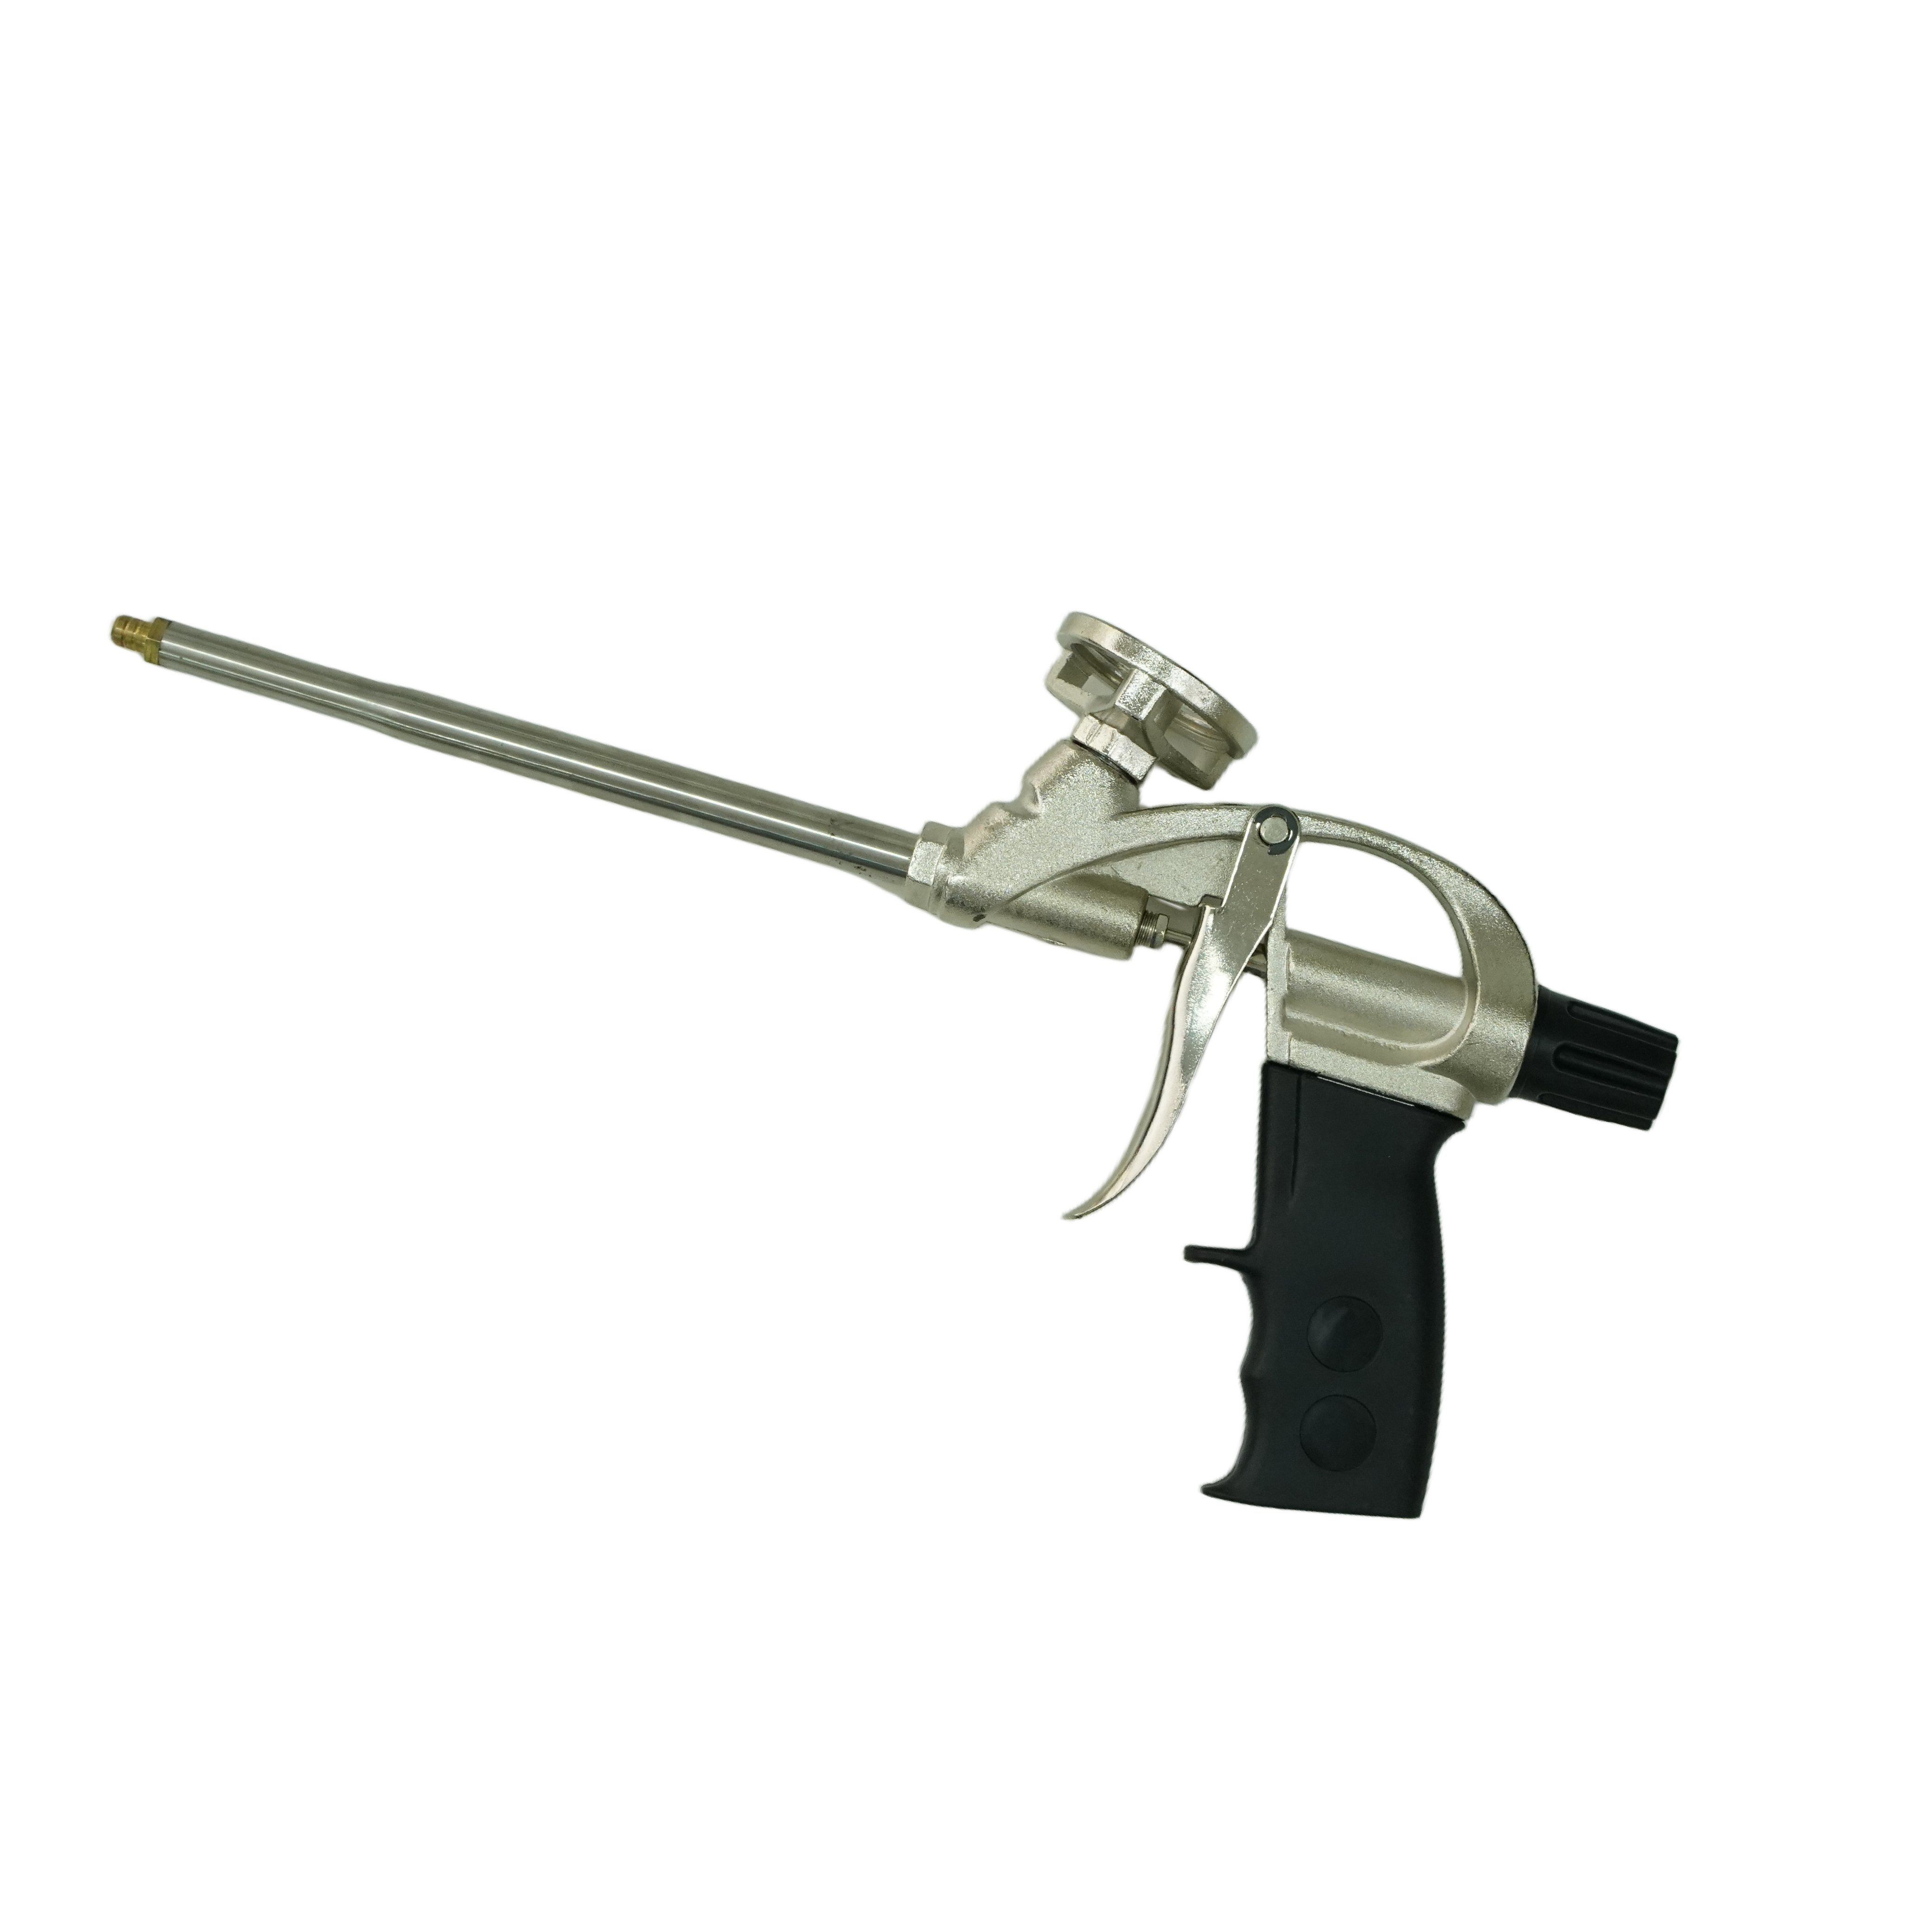
It is kind of amazing how one single product can change how you approach home repairs and creative builds. We have all been there, staring at a shelf that will not stay up or a piece of trim that refuses to cooperate. Sometimes a hammer and nails just do not cut it. That is where liquid nail glue steps in. Whether you are an experienced renovator or just starting to get your feet wet with weekend DIY, knowing where this adhesive works best is your golden ticket to long-lasting results.
Let us start with where the magic truly happens. Liquid nail glue works best on porous surfaces because those tiny openings give the adhesive something to bite into. Think of it like the glue getting a firm handshake rather than just waving from a distance. Materials like wood, MDF, particleboard, plasterboard, concrete, and masonry are all brilliant candidates. If you are installing baseboards, attaching a wooden shelf bracket, or fixing a loose piece of trim, these surfaces will almost always give you that rock-solid bond. The key is that at least one of the materials needs to be porous so the adhesive can grab hold and cure properly.
Now you might wonder if this stuff works on slicker, harder materials. Good news: it absolutely does. Metals like steel, zinc, copper, and aluminum bond well with liquid nail glue, which opens up a world of possibilities for home fixes. Ceramics and porcelain are also firmly in the yes column. Have you ever needed to reattach a loose floor tile without the hassle of mixing mortar from scratch? A few beads of adhesive and some firm pressure can solve that problem in minutes. Just remember to give the metal a quick clean beforehand. Any lingering grease or rust will crash the party before it even starts.
If your project leans more toward the decorative side, you will be pleased. Liquid nail glue plays nicely with glass, marble, and granite. This is particularly handy when you want a clean, invisible hold without brackets ruining the aesthetic. Imagine mounting a small decorative mirror or securing a granite backsplash piece; those are exactly the kind of jobs where this adhesive shines. However, a word of caution: not all liquid nail products are recommended for mirrors long-term, especially in damp bathrooms. Always double-check your specific tube before committing.
This is where people often stumble. Not all plastics are created equal, and liquid nail glue has strong opinions about which ones it likes. The general rule is simple: avoid polyethylene, polypropylene, Teflon, and silicone surfaces. These materials are just too smooth and chemically resistant to form a reliable bond. Think of them as the nonstick pans of the adhesive world. On the other hand, rigid plastics like PVC, acrylic, and styrene foam often work well. When in doubt, test a tiny dab on an inconspicuous spot before you commit fully. It is always better to spend two minutes testing than to clean up a collapsed project later.
Even the strongest liquid nail glue will fail if you skip the prep work. Surfaces need to be clean, dry, and free of dust, oil, or flaky old paint. A damp cloth and a bit of patience can make the difference between a bond that lasts a decade and one that falls apart next week. If you are working with particularly porous materials, wiping away loose particles is non-negotiable. It also helps to rough up very smooth surfaces slightly with sandpaper, just enough to give the adhesive some extra grip. Do not skip this step thinking nobody will notice. The walls will notice, and so will gravity.
Nobody enjoys watching glue dry, but understanding the timeline saves headaches. Most liquid nail glue products will feel set within about 24 hours. However, full strength can take up to seven days to develop. Keep this in mind before you start piling weight onto that newly secured shelf. Temperature matters too: ideally, apply it when conditions sit between 4 and 32 degrees Celsius. If you try bonding in freezing cold or blistering heat, the adhesive may not cure evenly, and all your hard work could go to waste.
Sometimes the best way to learn is through real-world examples. Picture this: you have a wobbly wooden chair and no clamps in sight. A generous zigzag bead of liquid nail glue pressed firmly into the joint can bring it back to life. Another classic scenario is attaching drywall panels without filling your walls with nail holes. This adhesive handles that job beautifully while remaining paintable once cured, so your finish looks spotless. Outdoor projects like securing a loose brick on your garden path are also fair game, provided the product you choose is rated for exterior use and water resistance. From building DIY headboards to securing loose stone veneer, the versatility here is genuinely impressive.
Choosing the right surface for liquid nail glue is not complicated once you understand the basics. Stick with porous building materials and clean metals, stay away from those nonstick plastics, and always give your project adequate time to cure. With those simple rules in mind, you will get strong bonds that hold up beautifully over time.
 Hot News
2026-09-09
2026-07-01
2026-06-18
2026-06-04
2026-05-16
2026-05-06
Copyright © 2025 by Shandong Juhuan New Material Technology Co., Ltd. - Privacy policy
 EN
EN